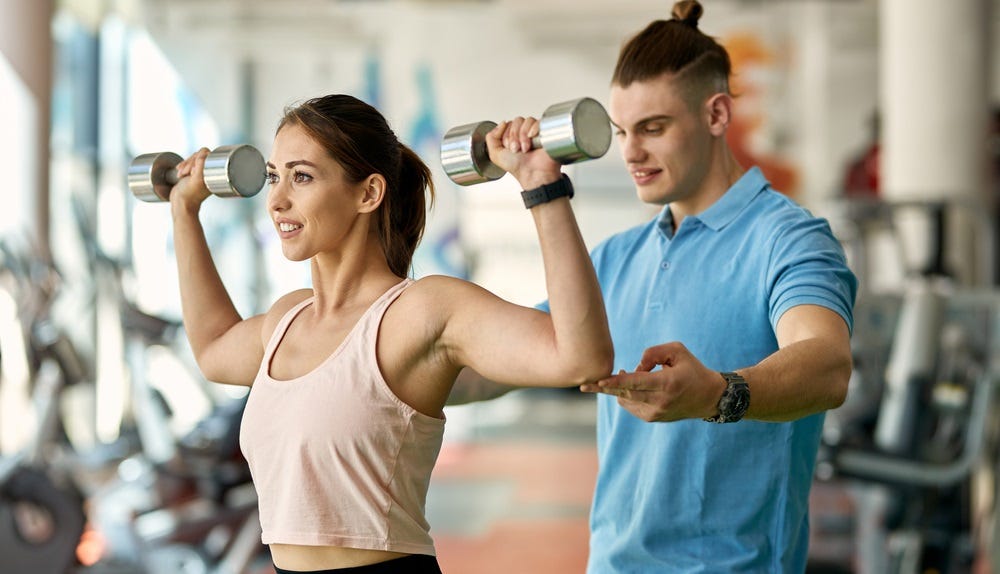
Personal training for women is a vital component in achieving fitness goals and overall well-being. With specific needs and concerns, women can benefit greatly from the guidance and expertise of a personal trainer tailored to their unique requirements.
From weight loss to strength training, personal trainers can help women reach their goals efficiently and effectively. With a personalized approach, trainers can create a workout plan that suits individual needs and preferences, helping women achieve their desired results and improve their overall health.
Benefits of Personal Training for Women
Women often face unique challenges when it comes to achieving their fitness goals, from hormonal fluctuations to specific body composition concerns. This is where Personal training for women can make a significant difference. A female personal trainer who understands these specific needs can provide tailored guidance and support, helping women navigate their fitness journey with confidence and efficiency.
The Importance of Tailored Workout Plans
When it comes to achieving optimal results in fitness, personalized workout plans are crucial. With Personal training for women, trainers can create customized exercise routines that take into account individual goals, preferences, and limitations. By working closely with a knowledgeable personal trainer, women can maximize their efforts in the gym, leading to better outcomes and overall well-being.
Overall, personal training for women offers a tailored and specialized approach to achieving fitness goals and improving overall health. By working with a personal trainer who understands their unique needs and challenges, women can benefit from personalized workout plans that focus on specific goals, preferences, and limitations. With the guidance and support of a knowledgeable trainer, women can navigate their fitness journey with confidence and efficiency, leading to better results and enhanced well-being. The importance of tailored workout plans cannot be overstated when it comes to achieving optimal outcomes in fitness, making personal training an essential component for women looking to improve their overall health and wellness.